Spring
Gradle-Spring Project #1 - 프로젝트 환경설정
˙ᵕ˙
2020. 10. 4. 00:13
프로젝트 생성
- 스프링 부트를 기반으로 프로젝트를 생성해 주는 사이트
- Dependencies 중요 : 웹 프로젝트에 필요한 라이브러리들을 자동으로 다운로드 받는다.

- 생성을 한 후 압축을 풀고 폴더안에 build.gradle를 연다

- 생성

- 프로젝트 실행
- 스프링부트라 이브러리에 톰캣 웹서버를 내장하고 있다 ( 기본 8080포트 )


- Intellij 사용시 자바가 Gradle을 통해 실행되서 로딩이 느릴 때가 있다.
- Gradle을 통하지 않고 바로 실행되도록 바꾼다.

View 환경설정
정적 페이지 생성
- src -> main -> resources -> static 위치에 index.html을 생성하면 도메인 첫 페이지로 등록된다.
- 스프링부트 메뉴얼 : docs.spring.io/spring-boot/docs/current/reference/html/

< index.html >
<!DOCTYPE HTML>
<html>
<head>
    <title>Hello</title>
    <meta http-equiv="Content-Type" content="text/html; charset=UTF-8" />
</head>
<body>
Hello
<a href="/hello">hello</a>
</body>
</html>- 서버를 껐다 킨 후 실행

Thymeleaf Template 엔진 동작
< HelloController >

package kr.example.spring.controller;

import org.springframework.stereotype.Controller;
import org.springframework.ui.Model;
import org.springframework.web.bind.annotation.GetMapping;

@Controller
public class HelloController {

    @GetMapping("hello")
    public String hello(Model model){
        model.addAttribute("data", "hello!!");
        return "hello";
    }
}
< hello.html >

<!DOCTYPE HTML>
<html xmlns:th="http://www.thymeleaf.org">
<head>
    <title>Hello</title>
    <meta http-equiv="Content-Type" content="text/html; charset=UTF-8" />
</head>
<body>
<p th:text="'안녕하세요. ' + ${data}" >안녕하세요. 손님</p>
</body>
</html>- 실행


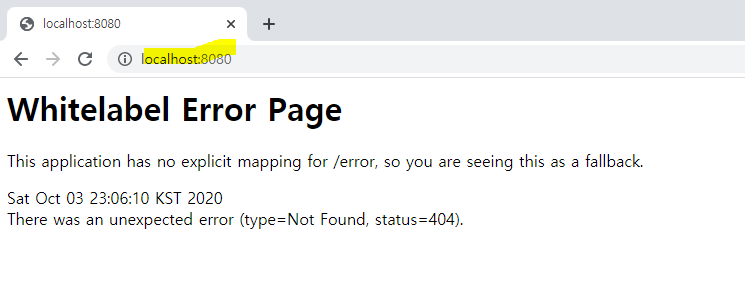
빌드하고 실행하기
- 터미널 -> 프로젝트 위치로 이동 -> ./gradlew build

- ~/build/libs 로 이동
- jar 파일로 프로젝트를 실행할 수 있다.
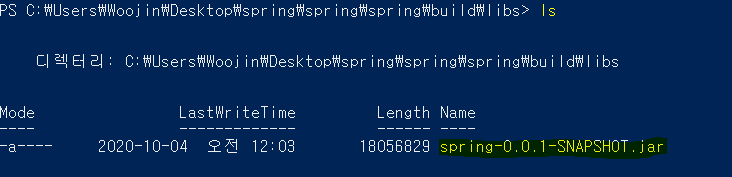
- 실행


- 오류가 날 경우에는 ./gradlew clean build -> build를 삭제 후 재생성